Directional Drilling Illustrated
Get directional drilling instruction with this animated informational video.
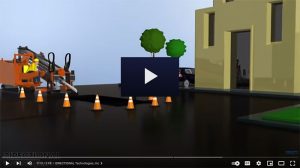
Stages of construction for Horizontal directional drilling (HDD)
Horizontal directional drilling (HDD) is a safe method of installing an underground pipeline. Learn about the various stages of construction.
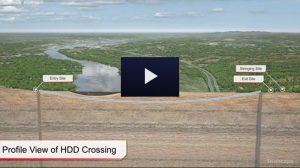
Step One: Safety
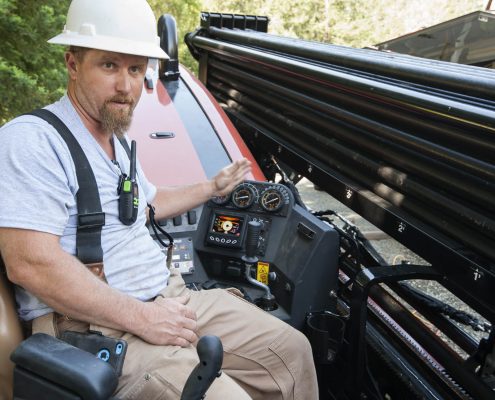
At Empire HDD, on-the-job safety is paramount. Our team has been through extensive safety training. Any job worth doing is worth doing right the first time! Before each phase of our operations, our team inspects, calibrates, and measures every piece of equipment before it goes into the ground.
Step Two: Line Location & Determining Soil Type
Advancements in adjustable frequency line location technology allow drillers to know exactly what is in the ground and the variety of soil types.
Before we dig, we always call 811, and if needed a private locator to identify and locate all underground utilities to avoid damage to existing services, which could lead to serious injuries and costly repairs.
Determining soil type allows us to mix the most suitable drilling fluid for the job, ensuring the highest productivity levels. Our mixes are made with an environmentally safe Bentonite base. Ask your local vintner, and they’ll tell you it’s a common additive in vineyards throughout our home of Sonoma County, California!
Step Three: Exposing Crosses
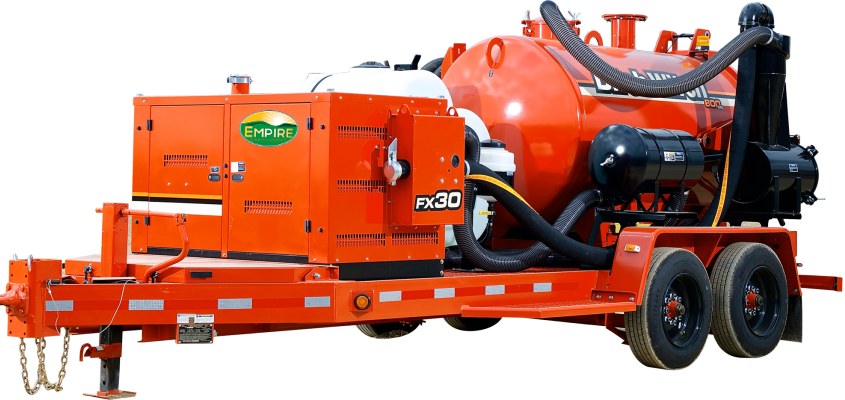
Utility crossings within the bore path are now easy to daylight in order to obtain visual confirmation of a clean crossing and proper separation.
Daylighting all crosses with our vacuum excavator is the next step in our process. This way, we are sure to bypass any existing utilities during boring and avoid unnecessary accidents.
Step Four: Pilot Hole
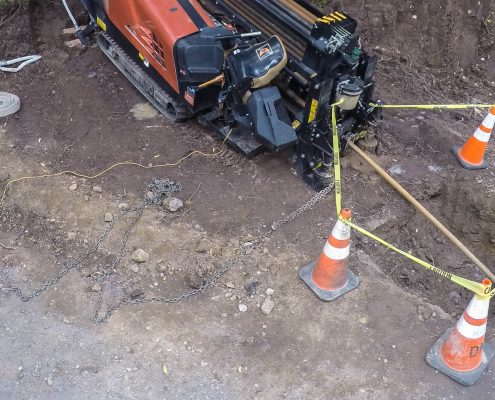
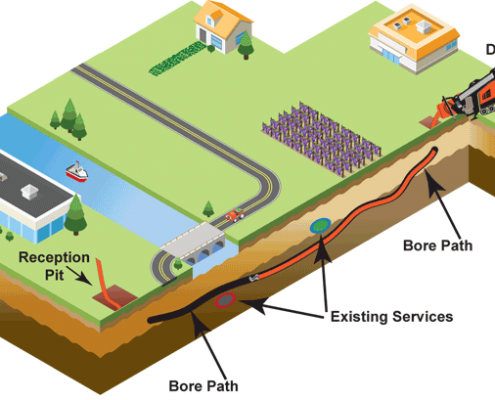
The process begins by creating a receiving hole and an entrance pit. These pits will collect and reclaim drilling fluid, reducing cost and preventing waste. The pilot hole is begun and is drilled along a predetermined path.
Step Five: Backreaming
This stage enlarges the hole by returning a larger cutting tool known as the backreamer through the pilot hole. This can be done several times in order to achieve the necessary diameter, typically 1.5x the placed-product size.
Step Six: Pullback and Placement of Product
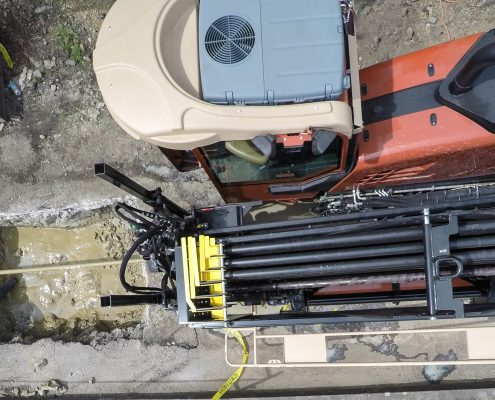
The final step in the process is the placement of product when the pipe is pulled into the reamed hole. At completion of boring, clean up and demobilization take place.

 Empire HDD